Key takeaways
- Survey a bay-window alcove with named corners, checking measurements and height notes to build a useful furniture-planning outline.
What's inside
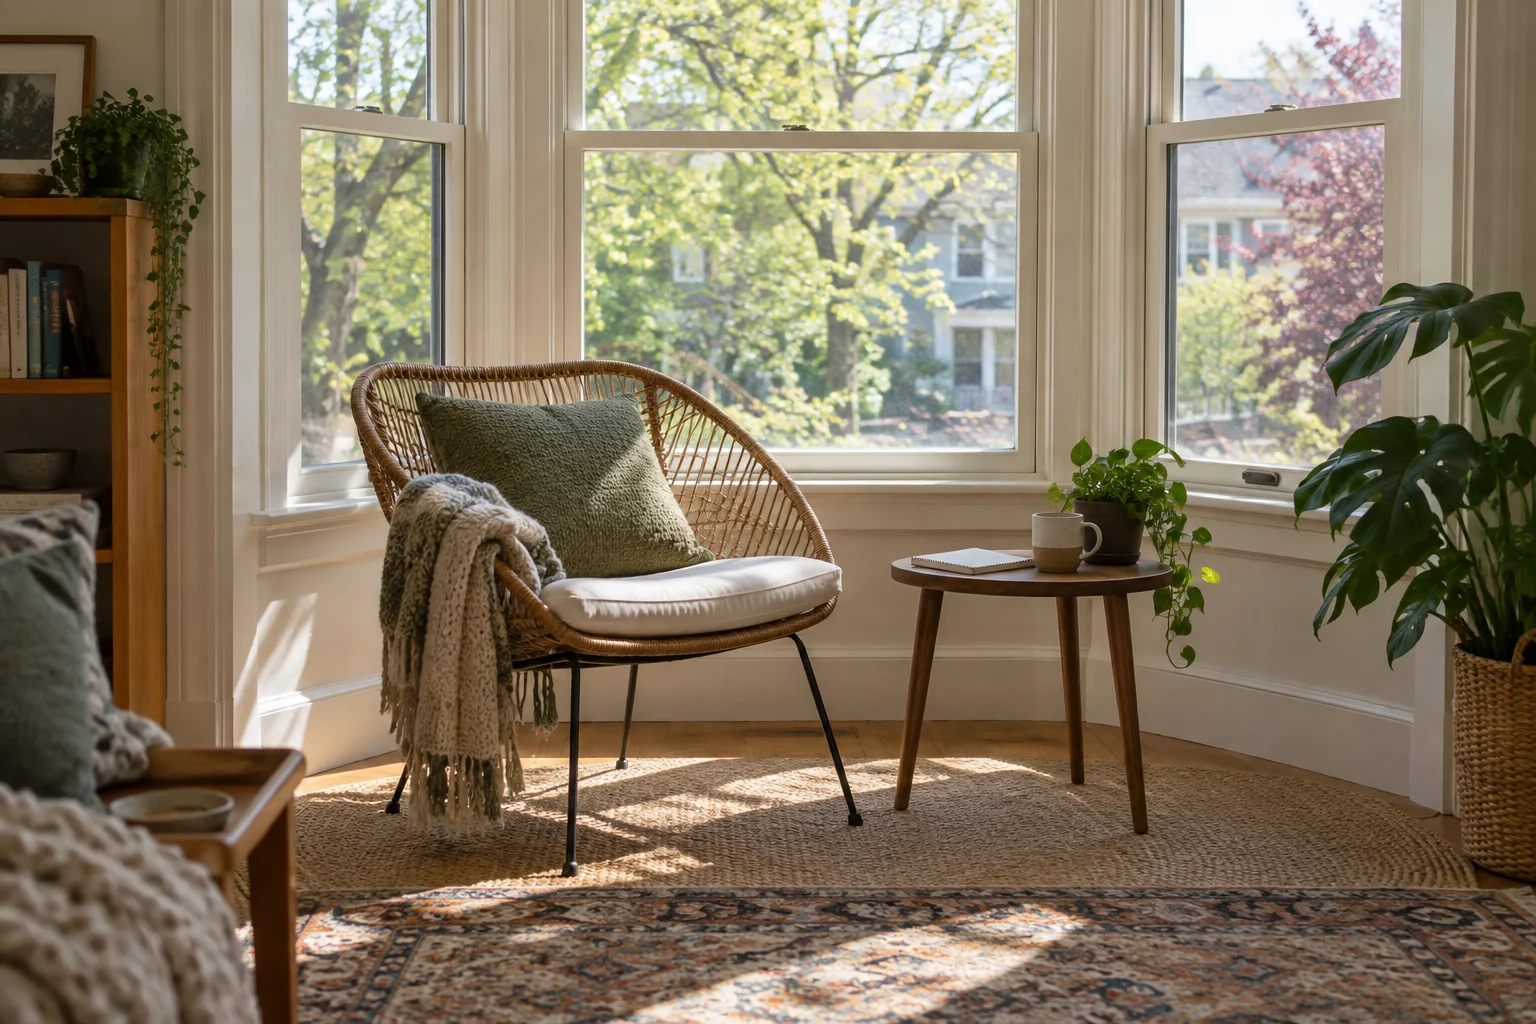
Measure a room with a bay-window alcove as a main room plus a separately recorded projection. Keep the alcove opening, angled sides, front wall and depth as distinct measurements. Replacing the bay with one rectangle can make a furniture plan look more generous than the usable space actually is.
Choose reference points that can be found again
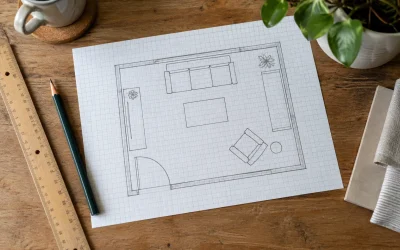
Sketch the main room first and label the two points where its wall turns into the bay. Call them A and B. The straight line between them is the opening baseline, even if there is no physical wall along that line. Label the next corner on each side and continue around the bay in order.
Use the same physical surface for related measurements. A distance taken between skirting boards cannot be silently combined with another taken between plaster faces higher up. Record which surface you measured and repeat at the heights relevant to the furniture being considered.
Do not assume the two angled sides are symmetrical. Older construction, trim and subsequent work can create differences that disappear in a quick sketch. Measure both sides and label each number before adding furniture.
Collect the outline and checking measurements
Measure the opening A–B, each wall segment around the bay and the perpendicular depth from the opening baseline to the front wall where practical. Add diagonal checking distances between named corners. Those additional measurements help reveal a sketch that has the right side lengths but the wrong angles.
For a simple drawing, mark points at a chosen scale and compare the resulting diagonals with your measurements. If the outline will not close consistently, recheck the reference points and units. Do not distribute the error by stretching whichever line is least convenient.
A bowed window with a curved perimeter needs a different record from a three-sided angular bay. Mark multiple offsets from the baseline rather than pretending the curve consists of three straight walls. For fitted joinery or costly custom furniture, have the maker complete the required survey or template.
Original alcove survey sheet
| Record | Reference | Why it matters |
|---|---|---|
| Opening width | A to B | Connects the bay to the main-room plan |
| Left and right segments | Named corner pairs | Captures asymmetry |
| Front segment | Front corner to corner | Defines the narrow end of the alcove |
| Depth and diagonals | Baseline and labeled corners | Checks the shape of the sketch |
| Projections by height | Skirting, sill, handles and controls | Shows usable space at furniture height |
Add photographs looking straight into the bay and toward each side. Place matching corner labels on a copy of the photographs. A future reader should be able to understand which two physical points produced every number.
Worked example: why the rectangle misleads
Imagine a symmetrical bay whose opening is 96 inches wide, front wall is 60 inches wide and perpendicular depth is 24 inches. For this illustrative trapezoid, the floor area is the average of the parallel widths multiplied by depth: (96 + 60) ÷ 2 × 24 = 1,872 square inches, or 13 square feet.
A 96-by-24-inch rectangle would show 16 square feet, overstating the area by 3 square feet. Neither area calculation proves a chair or bench will fit. A rectangular piece placed near the front wall must respect the narrower width and the angled sides at that exact position.
This example assumes parallel opening and front lines and a symmetrical straight-sided bay. Use it to understand the difference in shape, not to calculate an irregular alcove from three convenient measurements. Keep the measured polygon when the real geometry differs.
Record the room above floor level
A window sill can project farther than the wall below it. Note its height and depth, plus handles, inward-opening sections, radiator positions and any controls that need access. A low stool and a tall cabinet may encounter different boundaries in the same floor location.
Draw the furniture’s complete outline at the relevant height. Allow the window to operate normally and preserve required access. Follow the instructions for heating equipment and other installed products rather than inventing a universal clearance around them.
Window treatments need their own measurement method. The Shade Store’s bay-window guidance distinguishes a drapery route following the alcove angles from one spanning outside its opening. Your floor-plan baseline should not be substituted for an ordering measurement that follows those angles.
Turn the survey into a furniture decision
Place scaled furniture shapes on the completed room drawing. Show occupied chairs, opening drawers and the route into and out of the alcove. A piece that fits the bay’s perimeter can still make the adjoining room difficult to use.
List remaining uncertainties beside the plan: an inaccessible corner, an unconfirmed sill projection or a custom item’s required fitting tolerance. Resolve those before placing a non-returnable order. The useful result is a repeatable measured outline with clear limits, not a polished drawing that conceals what has not yet been checked.