Key takeaways
- Map a sewing corner in working and put-away states, accounting for fabric support, the foot controller, power connection and project storage.
What's inside
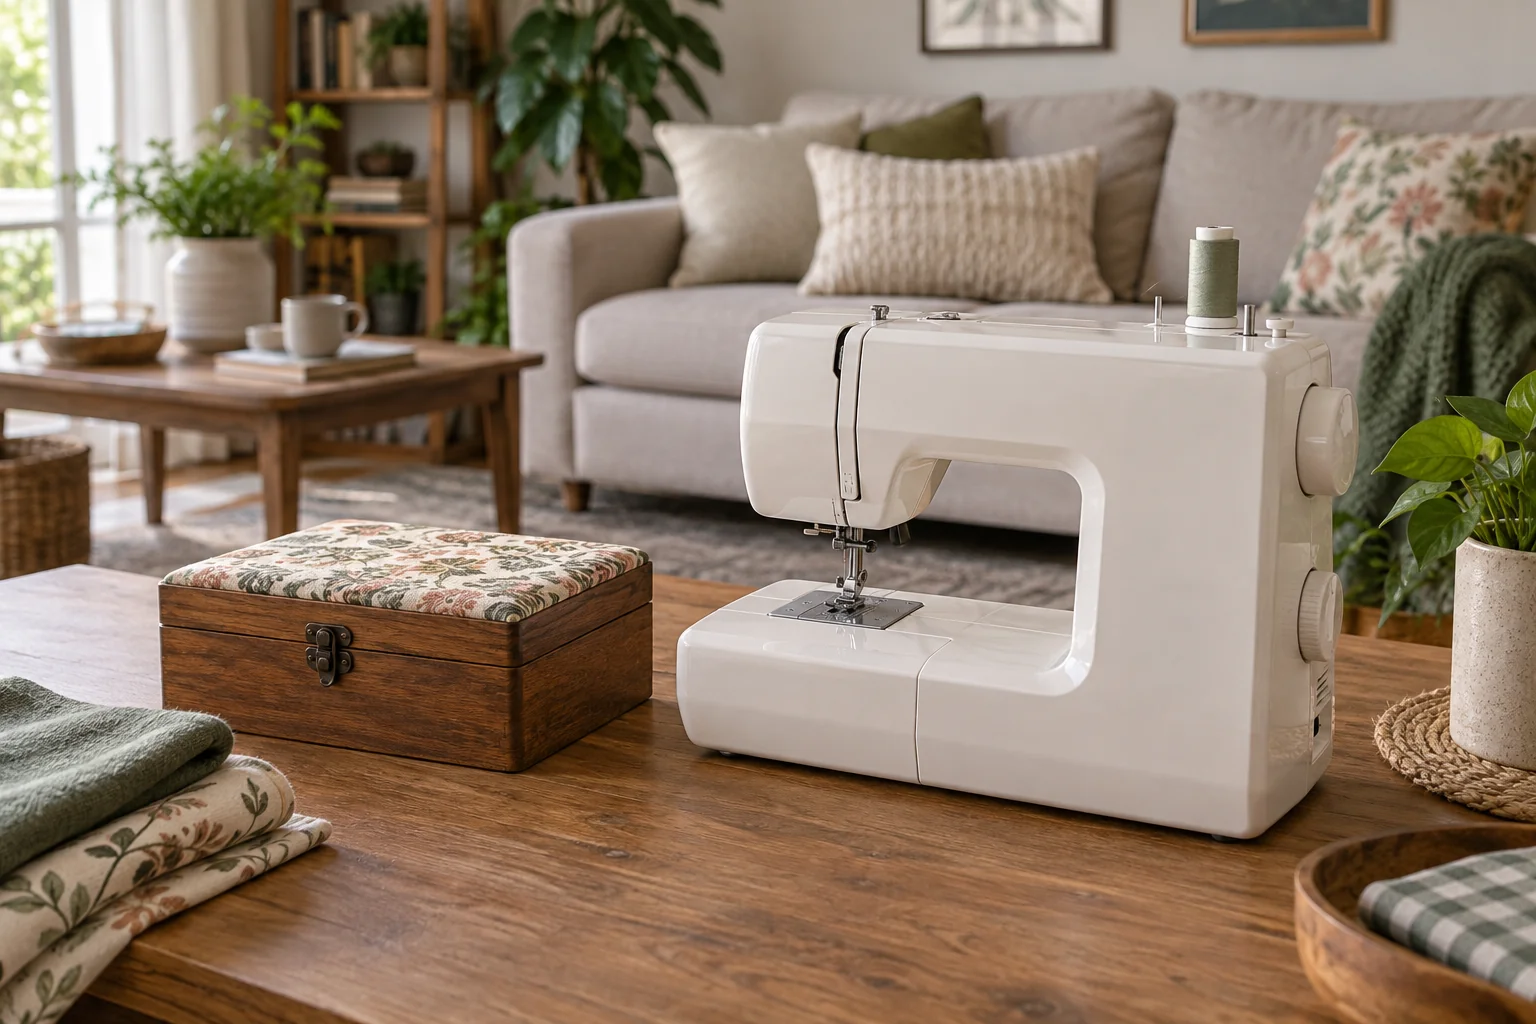
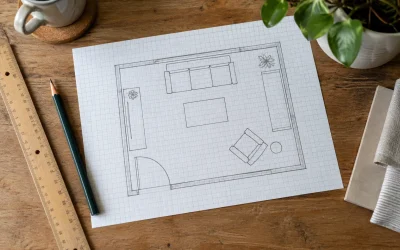
Plan a sewing corner in a shared family room as two complete arrangements: a stable working station and a fully put-away room. Include the machine, fabric path, chair, foot controller, power lead and small tools. Measuring only the machine’s footprint misses much of the space needed during a project.
The aim is a repeatable setup that can pause safely when the family needs the room. Start with one realistic project, such as hemming a garment, rather than trying to fit cutting, pressing, sewing and fabric storage into the same small surface.
Check the machine’s requirements first
Find the manual for your exact machine and country of purchase. For a concrete example, the Brother manual for the 888-X64/X74/X84/X67/X77/X87 family instructs users to unplug after use and when leaving the machine unattended. It also requires direct connection to an electrical outlet rather than an extension cord, warns against unstable surfaces, and says not to store objects on the foot controller.
Those instructions affect the layout: a convenient corner is unsuitable if the required connection cannot be made properly. Follow your own machine’s manual rather than assuming every model has identical requirements. Do not solve an unsuitable outlet location with improvised wiring or a cord stretched through the family walkway.
Check the table’s suitability for the machine and its operating use. A shelf rated to store an object is not automatically a sewing work surface. If the manufacturer does not make the intended use clear, ask before relying on it. Do not invent a universal table weight rating from the machine’s weight alone.
Draw the working space around the machine
Set the unplugged machine on the intended stable surface, following its handling instructions. Add the accessory tray or extension table you normally use. Place a representative piece of fabric where it will enter and leave the sewing area, without operating the machine during this layout check.
Position the chair and foot controller as you would use them. Check whether you can sit and move the chair without entering the main room route. Make sure the controller is not where another person could step on it. Keep the machine’s ventilation openings clear.
| Part of the station | Working arrangement | Put-away arrangement | Check before starting |
|---|---|---|---|
| Machine | Suitable stable surface | Approved storage location | Manual and handling instructions available |
| Fabric | Supported path beside and behind machine | Project container | No material covering controls or openings |
| Chair and controller | Usable position outside household route | Controller stored without objects on it | No unintended access |
| Needles and cutting tools | Controlled access during use | Secure container away from children | All items accounted for |
| Power lead | Connection allowed by manual | Disconnected and stored appropriately | No crossing of walkways |
Keep cutting and pressing as separate decisions
If the table is too small to support the project fabric, use another suitable work area for that stage rather than balancing an extra board on furniture. Check the actual dimensions of any cutting mat and project pieces. A folded garment occupies much less space than the same garment opened for marking.
Decide separately where pressing will happen. An iron adds its own surface, heat, cable and cooldown requirements; fitting the sewing machine does not establish a suitable ironing station. Follow the iron and board instructions and keep that operation away from the machine where required by its manual.
Agree on how other household activities will coexist with sewing. A corner beside a television may work at certain times but be distracting during others. Record the times or tasks that conflict. This is a practical scheduling choice, not a claim that a screen or partition will make the sewing corner soundproof.
Worked example: a machine fits but the project does not
Imagine an illustrative desktop 100 centimeters wide and 50 centimeters deep. The machine’s overall footprint is 40 by 20 centimeters. It appears to leave plenty of surface, but the chosen project needs a 45-centimeter supported fabric area to one side while passing through the machine.
If you place the machine centrally, only 30 centimeters remain on each side. Moving it might provide the desired side area, but then you must recheck chair position, the permitted electrical connection and fabric support behind it. The machine cannot simply be pushed to an unstable edge to satisfy the arithmetic.
If no suitable position supports the task, change the project location or choose a smaller task for this corner. The dimensions are hypothetical, not specifications for a Brother model or a universal sewing-table size. The exercise shows why the material’s working path belongs on the plan.
Write a pause routine that another person can understand
At the end of a session, follow the machine’s shutdown instructions, disconnect it as required, and secure needles, pins and cutting tools. Account for loose items before returning the room to family use. Keep the unfinished project and its notes together so you do not need to leave parts spread across the sofa.
Record the next step on a project card stored outside the machine: for example, “left hem marked; right hem not marked.” Give the machine and controller defined storage places, with nothing piled on the controller. Use the machine’s specified carrying method when moving it.
Finally, restore the chair and check the floor and family route. A workable sewing corner includes this closing sequence from the beginning; storage added later often becomes the reason the room never quite returns to normal.