Key takeaways
- Map the instrument, occupied seat, case and cable routes, then agree on practice times and a workable room-conversion routine.
What's inside
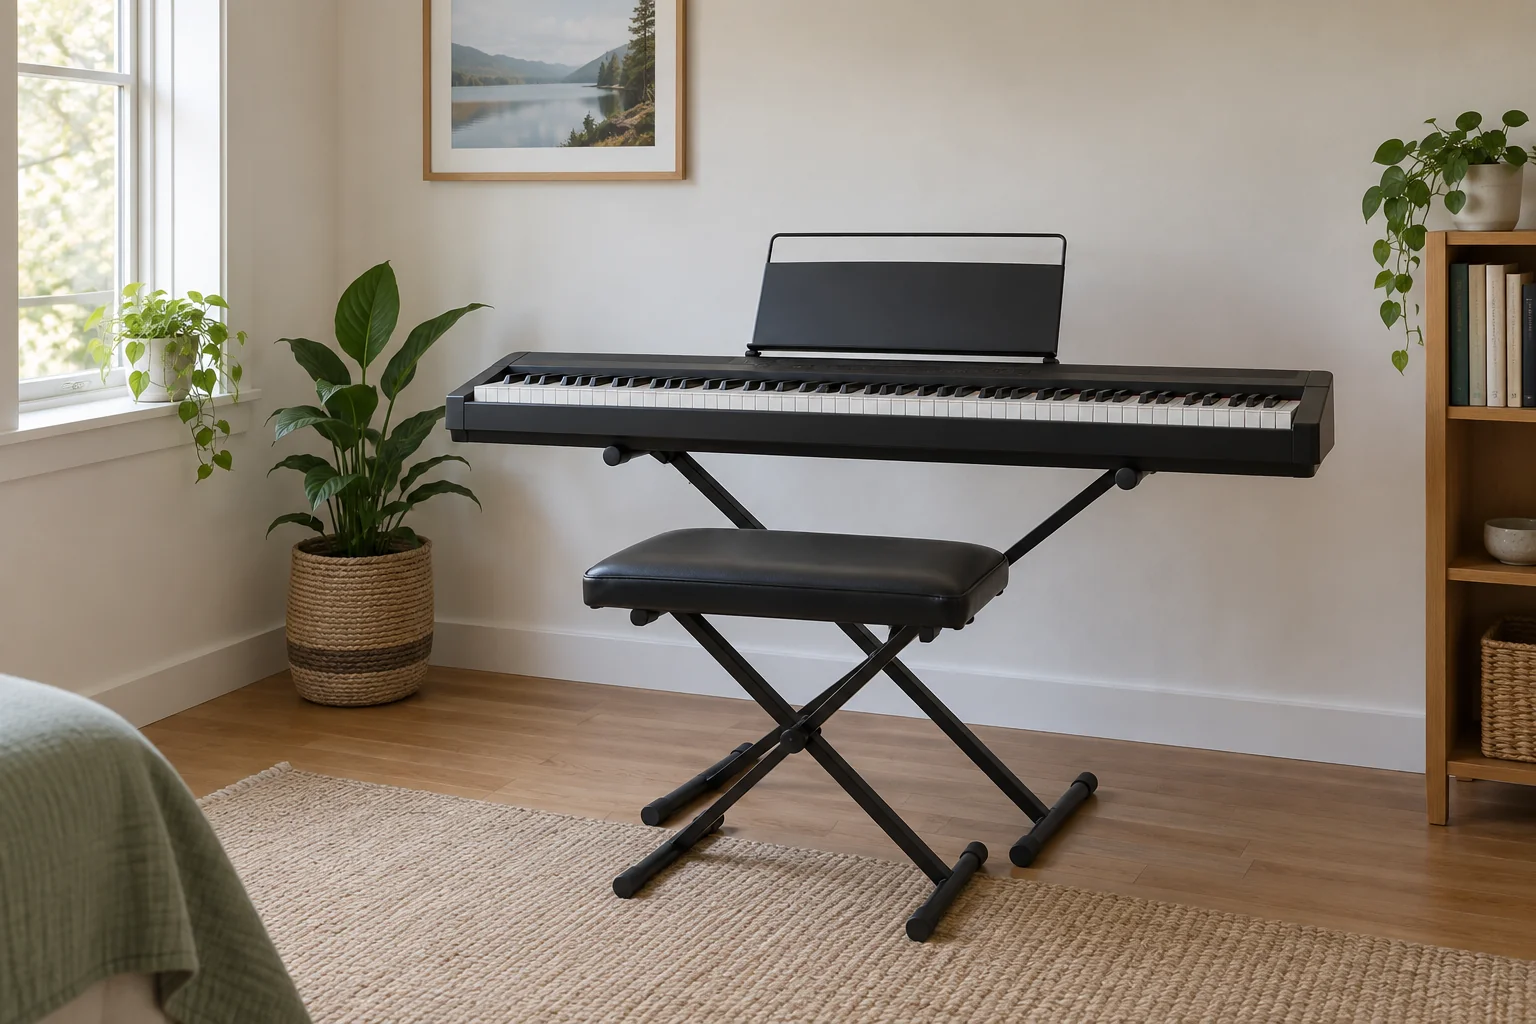
Turn a spare room into a music practice space by planning the instrument in use, the player’s movement, the equipment setup and the room’s other responsibilities. A keyboard may fit against a wall while its bench blocks the cupboard. A guitar may store neatly in a case that cannot be opened without moving the guest bed.
Begin with one realistic practice session and the equipment already owned. This guide provides an original room worksheet and a worked example for a digital keyboard. It is a layout and household-use plan, not a soundproofing design or a promise that nearby rooms will be quiet.
Define the session before arranging furniture
Write down the instrument, usual practice duration, likely time of day and whether another person teaches or plays alongside you. Include the music stand, bench or chair, pedals, case, amplifier and any recording device actually needed. Avoid reserving permanent space for equipment that belongs only to a possible future setup.
List the room’s other uses separately. A guest room may need occasional overnight conversion; a study may need its desk daily. Decide which objects can remain in place and which must move. If the instrument is heavy or requires specialist handling, choose a layout that does not depend on moving it for every visitor.
Draw the occupied instrument area
Use the exact instrument’s dimensions and add its supporting stand or cabinet. Then account for the player, seating adjustment and access to controls. A closed cabinet depth does not describe the space required to sit and play. Check open lids, music rests and rear connections in the operating arrangement.
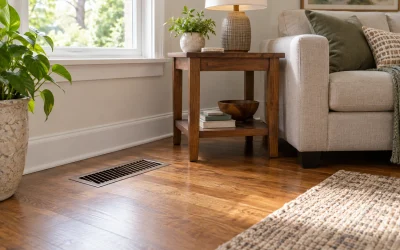
Yamaha’s piano room-planning guide recommends a paper footprint and explicitly includes room for the bench. It also cautions against direct sunlight and nearby air vents when locating a piano. Use that principle with the actual model’s instructions; a general planning allowance does not replace the needs of the player or the instrument.
| Part of the session | Map on the room sketch | Check before approval |
|---|---|---|
| Instrument and stand | Actual outside footprint | Placement and support instructions |
| Player | Seat in the playing position | Getting in, out and reaching controls |
| Setup | Open case, stand and accessories | No overlap with required passage |
| Connections | Power, pedal and audio cable routes | No trailing cable across the doorway |
| Room conversion | Guest bed or cupboard in use | Known destination for movable pieces |
Keep required doorways, ventilation and access available. Test normal seat movement rather than assuming the bench always remains neatly tucked in. A diagram should describe the active room, not only the room after it has been tidied for a photograph.
Give setup items a defined destination
Choose where the instrument case opens, where sheet music rests and where headphones or cables return after use. Store small accessories by the instrument they belong to so the session does not start with a search through an unrelated drawer. Label adapters by device and connection type if they are easily confused.
Place music where it can be read under the lighting actually used for practice. Check for glare on a tablet or glossy page from the playing position. Route lamp and equipment cables according to their instructions; a new arrangement should not depend on cables stretched through a walking path.
A worked spare-room layout
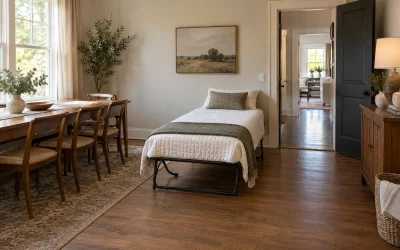
In this fictional example, a room contains a desk, a guest bed and a digital keyboard. The household initially puts the keyboard on the only blank wall. Once the bench is pulled out, however, the player blocks the wardrobe door. The stored-instrument footprint looked workable; the occupied footprint does not.
They sketch an alternative beside the desk, check the keyboard’s placement instructions, and test it with the bench in use. The wardrobe can now open, but the empty keyboard case has no destination. They assign it a measured storage position elsewhere and keep the music stand folded beside the keyboard when it is not needed.
For guests, the bench and stand move to agreed storage, while the keyboard remains safely supported in place. They rehearse that conversion once before a visit. Their final plan includes a setup photograph and a short return list, so restoring the room does not depend on remembering every item’s former position.
Agree on sound and timing separately
A layout can solve access without solving sound transfer. Ask household members which practice times conflict with calls, rest or other activities. Where an instrument provides an approved headphone option, confirm how that exact model routes sound. Do not assume plugging in headphones disables every speaker or removes mechanical key and pedal noise.
Try an ordinary session at the agreed settings and ask people in adjoining spaces what remains disruptive. Record a practical outcome: a different practice time, another room, or a change in equipment settings. Rugs and soft furnishings may change the room’s sound, but decorating a room does not establish sound isolation from neighbors.
Keep the first version easy to revise
Use the layout for several normal sessions before buying more storage or decorative acoustic products. Note recurring problems such as a case left in the doorway, a lamp repeatedly moved or a chair that cannot be adjusted comfortably. Fix the specific problem instead of filling every spare wall.
The finished practice room should let you begin, play and put things away with a clear sequence. Save the room sketch, instrument instructions and conversion photograph together. Recheck them when the instrument or the room’s other use changes, rather than assuming the original arrangement fits every future setup.