Key takeaways
- Hand over room measurements with named endpoints, units, photographs and version notes, plus a reader check that exposes unclear or unmeasured details.
What's inside
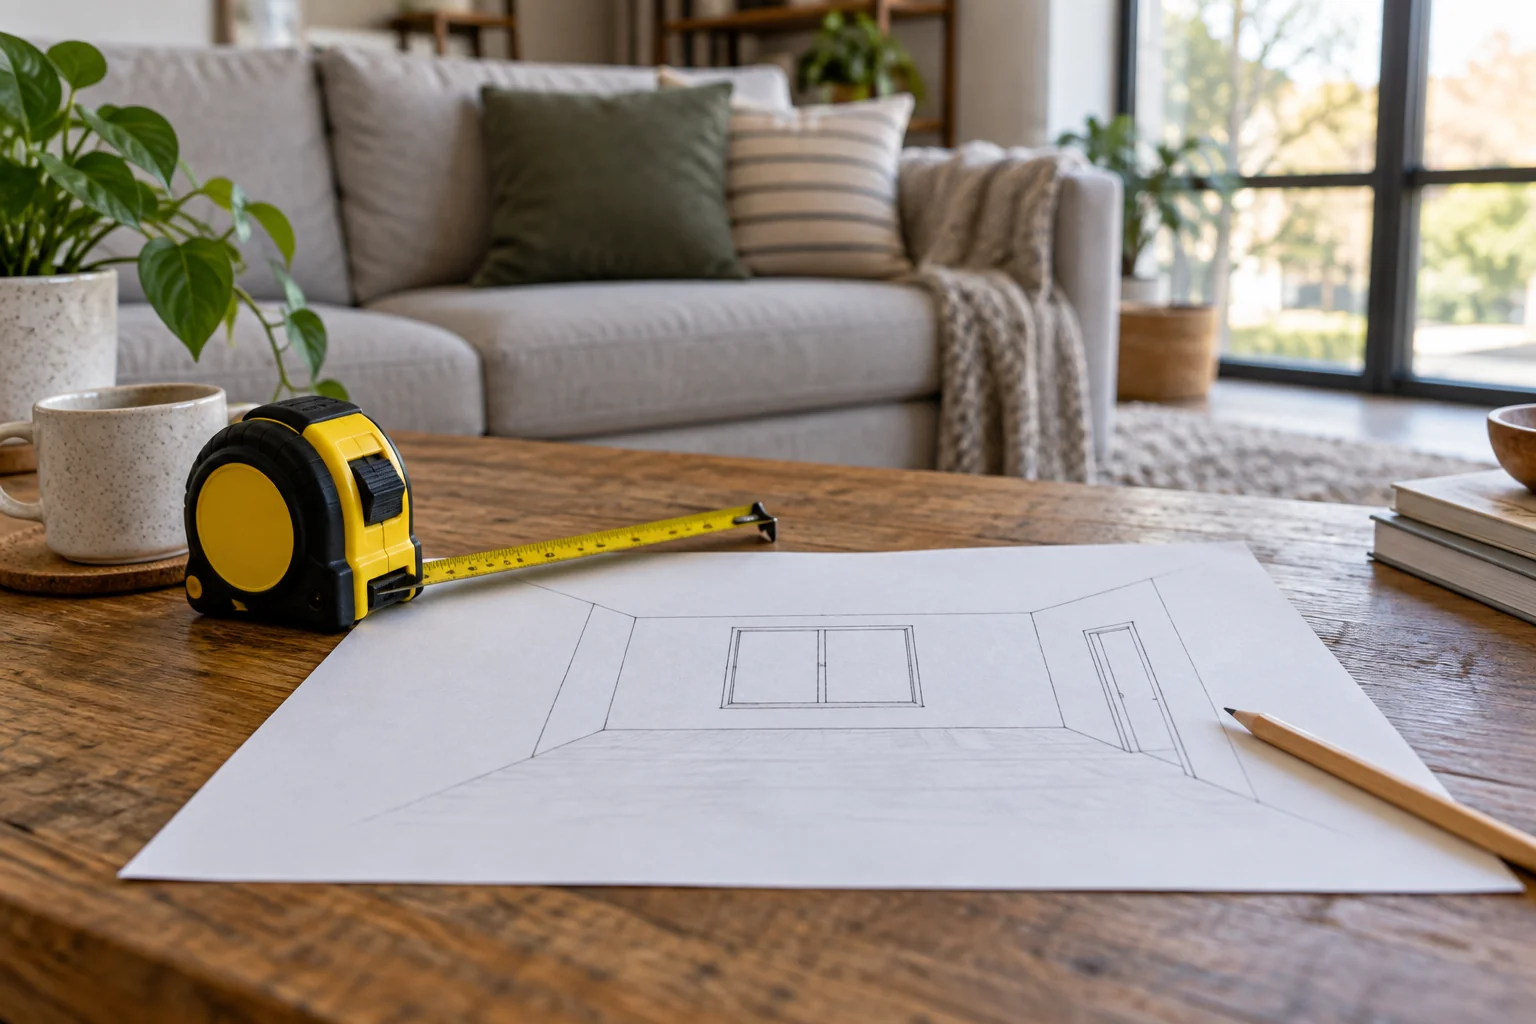
Document room measurements for another household member by naming the physical endpoints, labeling the unit and showing each measurement on a sketch. A list of numbers is not enough when the second person cannot tell which wall, trim edge or height you used. The handover should allow them to find the same points and repeat the reading.
Use this as a household planning record, not a professional survey or an approval for custom construction. Measurements involving inaccessible areas, fixed services or costly fitted work should be confirmed by the appropriate supplier or professional.
Give the room a shared orientation
Draw a simple outline and name the entrance. Label walls A, B, C and D in a consistent direction, adding more letters for recesses or irregular sections. Include a small note such as “standing at entrance facing window” so a photograph and sketch can be read together.
Number the windows and doors separately. IKEA’s interior-design measuring guide asks for window dimensions and their distances from corners, together with retained furniture and fixture locations. Use your own consistent labels to connect those features to the room outline, and explain the labels in a small key.
Do not rely on “left wall” without a viewpoint. Two people standing at opposite doors can both describe the left wall correctly while referring to different surfaces. Stable wall names prevent that ambiguity from following every later number.
Write the endpoints beside each value
Record whether a width runs between plaster faces, skirting boards, trim edges or another visible boundary. Include the height above the floor when projections change with height. A low cabinet and a tall shelving unit may encounter different available widths in the same location.
Keep direct measurements separate from calculations. If a value is derived by subtraction, label it as calculated and retain the two original readings. An assumed right angle or unmeasured symmetry should remain an assumption until verified, not become an invisible part of a neat diagram.
Choose one main unit for the record. If a retailer uses another system, add a clearly labeled conversion in a separate field. Preserve the original reading so a rounding choice cannot overwrite the evidence.
Use a measurement register
| ID | Endpoints and condition | Reading | Status |
|---|---|---|---|
| M1 | Wall A between named inside corners, above skirting | Value and unit | Measured, date and person |
| M2 | Window W1 outer trim edge to corner A–B | Value and unit | Measured or needs recheck |
| M3 | Projection at intended furniture height | Value, unit and height | Obstacle included |
| M4 | Remaining width calculated from named readings | Calculation shown | Derived, verify if critical |
Add a photograph reference to each important reading. A photo with endpoints marked afterward can be clearer than a distant picture of a tape. Avoid including personal paperwork, screen content or other unnecessary private details in images you share.
Worked example: a correct number with an unclear meaning
Imagine one person writes “window space: 180 cm” before leaving for work. The next person cannot tell whether this means glass width, outside trim width or the clear wall below the sill. Each interpretation could lead to a different furniture purchase.
The revised entry reads “M6: between outside left and right window-trim edges, 180 cm, measured at sill height; photo P3.” A separate entry records the sill projection and another records the usable width below it. The original number has not changed, but its meaning is now repeatable.
The dimensions are fictional. The lesson is to resolve identity and endpoints before adding precision. An extra decimal place would not have repaired the first note.
Ask the reader to reconstruct one part
Before handing over a large record, ask the other person to locate two or three named measurements using only the sheet. Have them explain the endpoints in their own words. If they need you to point at the wall, improve the sketch or wording before relying on it remotely.
For a critical dimension, repeat the measurement from the same endpoints. If readings differ, record both and investigate the setup rather than averaging an obvious reference error. A bowed wall, angled tape or different trim face may explain the disagreement.
Keep the plan’s date and version visible. If furniture or a fixed feature changes, update the relevant entry and mark the previous version superseded. Do not silently replace one image in a shared folder while leaving the old numbers in a message thread.
State what the record does not include
Add a short unresolved list: inaccessible corner, uncertain wall angle, unverified delivery route or a supplier-required fitting allowance. Those omissions matter more than whether the sketch looks polished. Confirm them before a decision that depends on them.
For an irregular bay, retain its separate shape record rather than compressing it into one width; the bay-window alcove guide explains that geometry. A successful handover lets the next person distinguish measured facts, calculations and open questions without needing to reconstruct your memory.